This post will show you how to easily deploy containerized applications using faasd. Based on OpenFaas - faasd allows you to run and deploy container applications on a single host. While its big brother OpenFaas was (mainly) designed for Kubernetes-deployments, faasd is meant to be a lightweight alternative for those who just want to run a low-traffic app on one machine - ideal for side projects!
I am using faasd to host personal projects like geozip: a simple webapp to search for global postalcodes.
I’ve built this, I run this
Hosting your own apps might sound like a hassle but it’s worth it. It taught me a lot about servers, networking, and how to manage different infrastructure components. Also, there is a beauty to be able to say: I’ve built this and I run this!
To get started, we need a few things first:
- a server to deploy your apps
- a domain (.com or whatever you prefer)
- an account with DockerHub or any other container registry service
Virtual Private Server
We are going to use a plain Linux-based Virtual Private Server (VPS) to deploy faasd and our apps to. You could in theory use your own machine to host it - but OpenFaas was designed to run your containers on a remote server and serve public traffic. We will just use our own machine to build the app container images and deploy those to faasd.
There are many vendors you can use, notably the big three: AWS, Google Cloud Platform (GCP) and Azure. If you know those platforms already, go for it. Otherwise, I also encourage to check out smaller platforms and dedicated VPS hosters such as:
Hetzner for example offers dedicated servers with more performance per $ than similar sized AWS EC2 instances. So you get more performance for the price of less flexibility (i.e. you are usually billed monthly rather than by the hour).
Many of these services also have sign-up bonuses (e.g. get $200 credit at Digital Ocean if you sign up through this link) when you are registering as a new customer.
Consider getting a machine with at least 4GB of RAM memory and 50GB hard-drive.
Domains
In order to reach our app, we will also need a registered Top-level-domain. This also has the added benefit that we can setup HTTPS/SSL with our server. I like to use Namecheap as my domain registar.
Protip 💁: use domainr.com to instantly check availability of a domain name you want to buy.
Deploy faasd & Caddy
Assuming you have SSH access to your remote server, you can create a non-root user and then execute the install script as per the faasd installation README while logged in:
git clone https://github.com/openfaas/faasd --depth=1
cd faasd

./hack/install.sh
After this, we will also install Caddy, mainly as a reverse-proxy. Caddy also allows us to automatically setup HTTPS on our server. Follow the installation guide described here as well as the
This file contains:
- a valid email address (required for the SSL certificate creation),
- a reverse proxy rule for your faasd gateway - this is where we deploy our images,
- a reverse proxy for your deployed function/app
The last point is only relevant if you want a “pretty” url. If you didn’t have this, the endpoint for your function would be faasd.yourdomain.xyz/function/myapp.
Swap myapp for your preferred app name.
For more info how to setup Caddy for faasd, I refer to the Adding TLS to faasd chapter from Alex Ellis’ Serverless for Everyone Else ebook.
After editing and saving the file, you might need to format the file to be valid, so just run this:
sudo caddy fmt —overwrite /etc/caddy/Caddyfile
To reload the new config, run sudo systemctl reload caddy.
After this, we need to set two new DNS A Records for our sub-domains, both pointing to the remote server IP address. One for faasd.yourdomain.xyz and one for myapp.yourdomain.xyz. Caddy now automatically provisions TLS certificates for all ours sites and keeps them renewed.
Now while we are logged in to our server, we need to allow our host to pull Docker images from private registries.
Deploying the first app
With our new faasd setup, we can now deploy apps!
I have created a OpenFaas template that helps you to bootstrap a FastAPI webapp, rendering a simple HTML page. It uses Jinja2 templating to pass Python variables to HTML template - in my example this is simply a random number. This template serves a good starting point for a Python-based web project, such as a Machine Learning API.
The final page is going to look this:
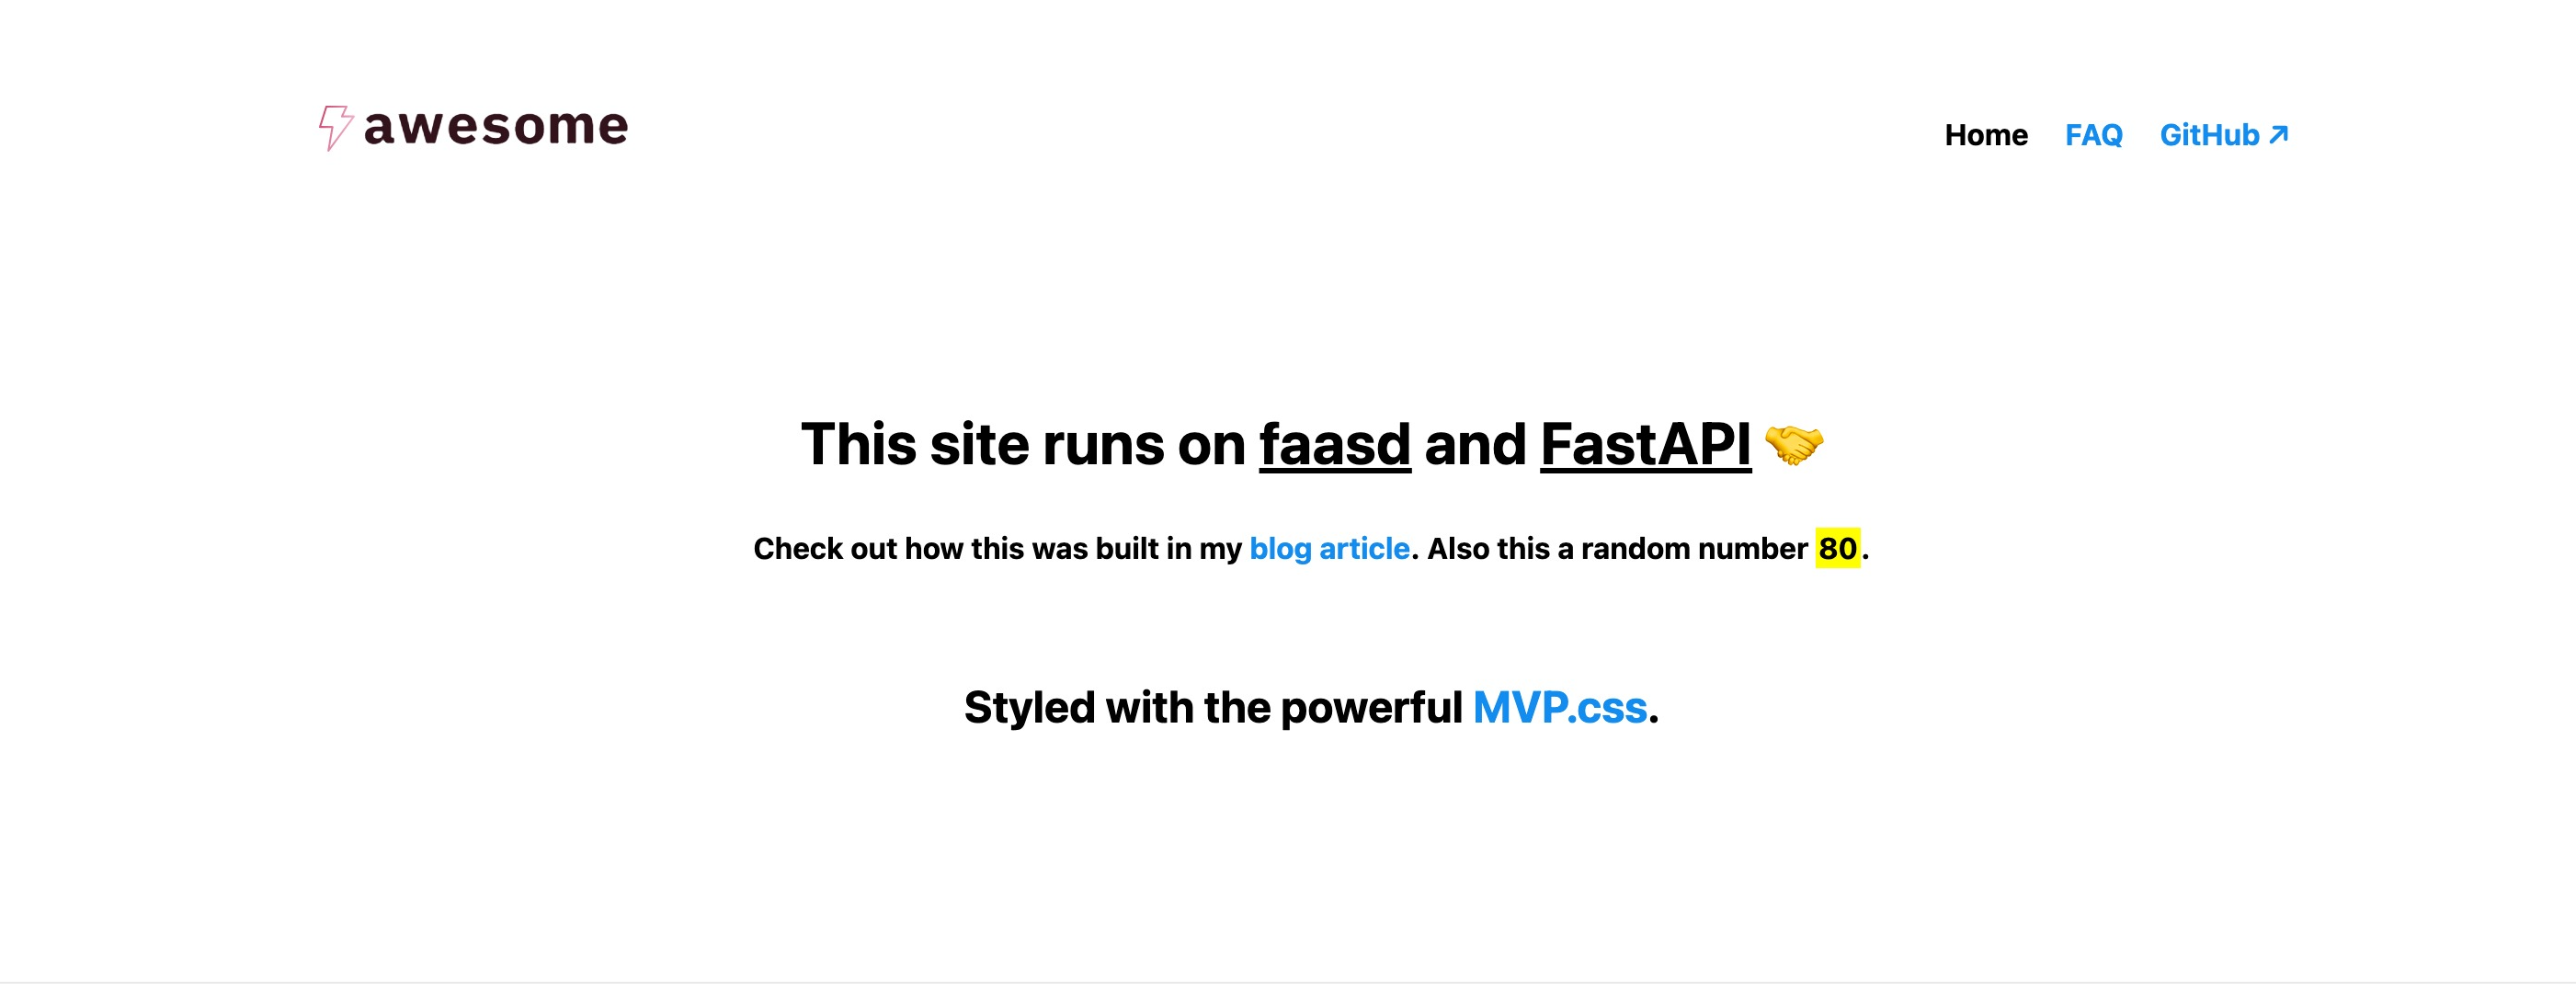
A FastAPI MVP deployed on faasd. Check out the demo at 👉 faasd-demo.alexfranz.com
After you have finished the installation of faasd and Caddy, you need to retrieve and save the password for your faasd gateway from your server. This is the password you will need to authenticate your local machine with the server using the faas-cli. Download and install the CLI from here.
First, retrieve the basic-auth password from your server and export it as a password via environment variable on your machine:
sudo cat /var/lib/faasd/secrets/basic-auth-password ;echo
Set the following environment variables, to login to your to faasd-gateway (note the https in the OPENFAAS_URL) and deploy containers:
export OPENFAAS_URL="https://faasd.yourdomain.xyz"
export OPENFAAS_PW="{BASIC AUTH PW OBTAINED EARLIER}"

echo $OPENFAAS_PW | faas-cli login --password-stdin -g $OPENFAAS_URL
Now we can pull the FastAPI template like so:
faas template pull https://github.com/alfranz/openfaas-fastapi-template
My provided template is based on a Dockefile, hence we will use this to create a fresh app:
faas new --lang dockerfile myapp
This will create a new sub-folder with all the template files (such as the HTML templates) as well as the Docker image. Modify all of them as you wish.
There is yaml file auto-created in the process as well:
version: 1.0
provider:
  name: openfaas
  gateway: https://faasd.yourdomain.xyz
functions:
  myapp:
    lang: dockerfile
    handler: ./myapp
    image: myapp:latest
Double-check that gateway is set to the same value as your OPENFAAS_URL env variable you set earlier. As for the image key: here we need to prefix our username of the container registry we are going to use e.g. myuser/myapp:latest (instead of simply myapp:latest) for a standard DockerHub account.
After this, we use the faas up command to buid the app image, push it to the container registry and deploy it to our server:
faas up -f myapp.yml
Afer the deployment, you should be able to reach your new app at https://myapp.yourdomain.xyz.
Want to learn more?
This was a very simple intro to using faasd that brought us quite far already. There are additional useful features we haven’t touched upon yet, such as:
- asynchronous invokations,
- using encrypted secrets in your app,
- docker-compose support
If you want to learn more about it I can warmly recommend Alex Ellis’ Serverless for Everyone eBook and his blog.
Do you see any additional benefits of going the self-hosted route - or do you prefer managed solutions? Let me know in the comments.